
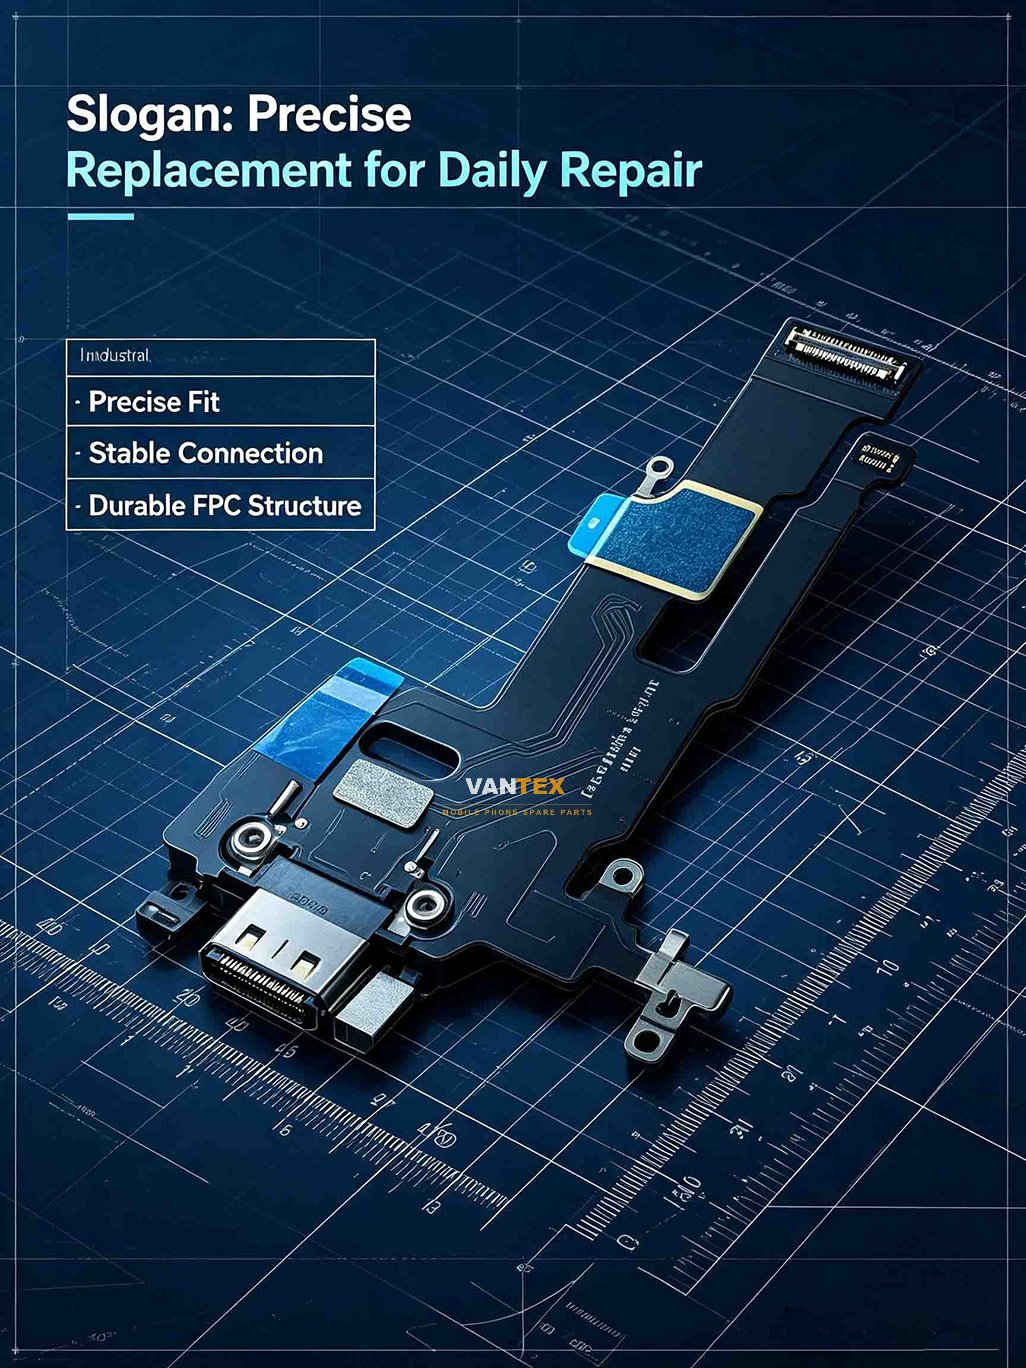
When should you replace the whole charging board?
If a phone fails the cable-charge test but charges wirelessly, or shows intermittent charging that survives a port cleaning, the charging board assembly is the prime suspect. Replacing the complete assembly - port, ICs and flex together - takes 20-40 minutes on most models and avoids the rework risk of micro-soldering a single port. Industry teardown guides, such as the model-specific repair manuals on iFixit, treat the charging assembly as a single replaceable module for exactly this reason.
Tools you need
- Precision Phillips screwdriver set and a plastic spudger or pick
- Suction cup and heat pad (for glued back covers or displays)
- Anti-static wrist strap - charging boards carry sensitive charge-control ICs
- A USB current meter to verify the repair afterwards
Step-by-step replacement
- Power off and discharge. Shut the phone down and drain the battery below 25%. A charged lithium battery shorted during disassembly can ignite within seconds.
- Open the housing. Heat the back cover or display edge to soften adhesive, then lift with a suction cup and pick. Work slowly around the frame.
- Disconnect the battery first. This is the single most important safety step: pry the battery connector off the logic board before touching anything else.
- Remove the old charging board. Undo the retaining screws, peel the flex gently from its channel, and unplug every board-to-board connector. Note screw positions - they are often different lengths.
- Prepare the new part. If your replacement board comes without a shield plate or gasket, transfer them from the old part. Vantex charging boards ship with connector shields pre-fitted to reduce bench time.
- Install and test before sealing. Connect the new board, reconnect the battery, and power on before closing the housing. Plug in a cable with a USB current meter: you should see a stable draw that matches the adapter rating.
- Seal and final check. Re-apply adhesive or seals, close the housing, and run a full charge cycle while watching for abnormal heat.
4 mistakes that cause comebacks
- Skipping the battery disconnect - the most common way to turn a charging repair into a dead phone.
- Reusing a deformed port gasket - leads to loose cable fit and intermittent charging complaints within weeks.
- Testing without a current meter - “it shows a charging icon” is not a pass; verify the actual draw.
- Mixing screws - a long screw in a short-screw hole can pierce the board layer beneath.
Sourcing replacement charging boards at wholesale
For repair shops, the economics are simple: a tested aftermarket charging board restores a billable repair at a parts cost that is typically 30-60% below OEM pricing. Vantex manufactures independent-aftermarket charging boards for iPhone, Samsung, Honor, Infinix, Tecno and other major brands, with batch testing on charging current, connector fit and flex durability. Repair shops and distributors can request wholesale pricing on the wholesale page or browse the charging board catalog.